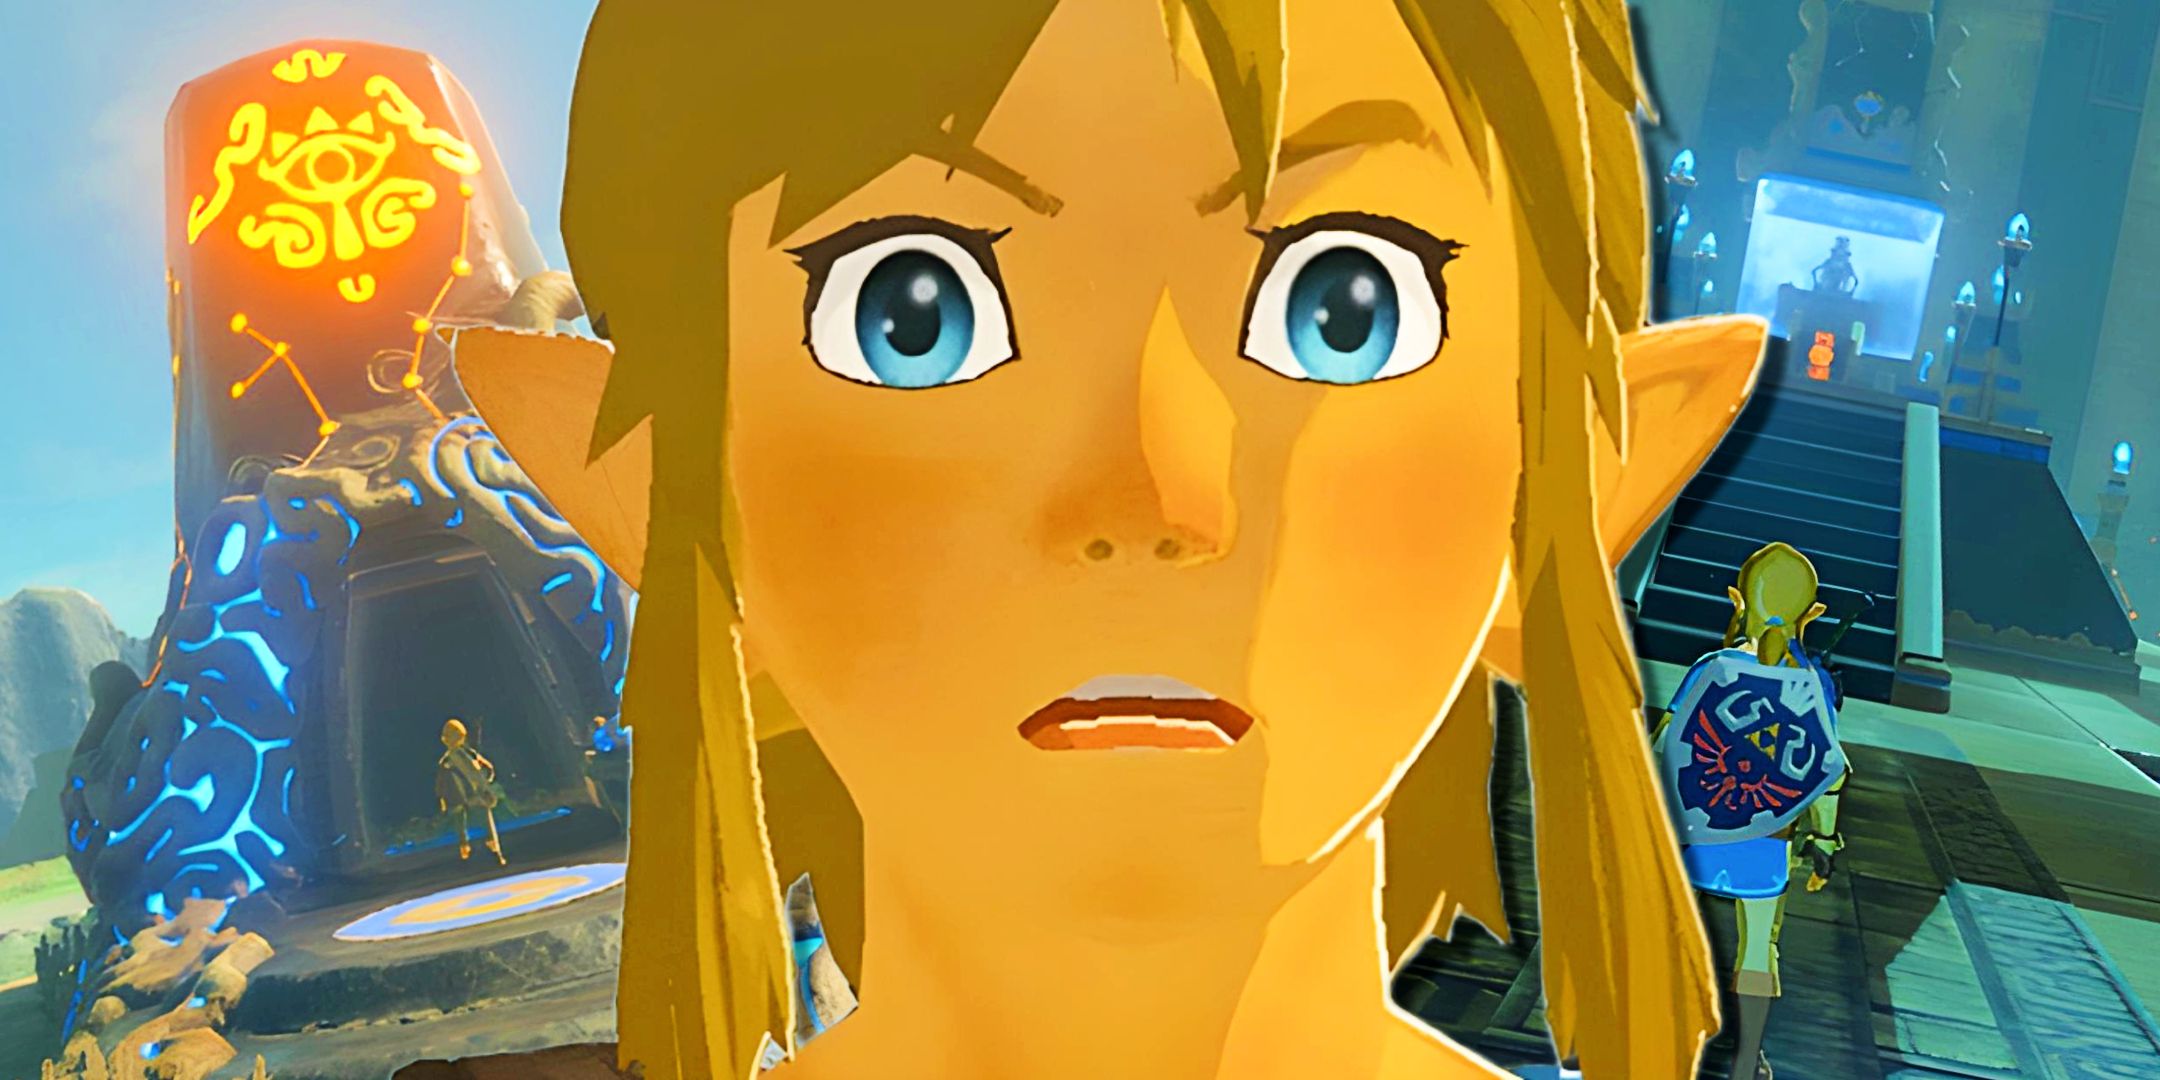
There are a ton of shrines in The Legend of Zelda: Breath of the Wild, and that means that there’s a lot of variation in difficulty. Shrines will have you doing just about anything: while the most basic structure is a simple, self-contained series of puzzles using your Runes, some shrines take you far and wide across the map, making you solve environmental riddles scattered throughout the map. Still others just put a strong enemy in front of you and wish you good luck.
So BOTW shrines take a lot of forms – that’s part of their appeal, since there’s so many of them to discover. But that inevitably means that some of them are much more difficult than others. Whether it’s due to arcane instructions, tough battles, or just confusing concepts, these are some of the hardest shrine puzzles in Zelda: BOTW.
10
Miro Shaz Shrine Makes You Play A Finicky Game Of Golf
Tempered Power
One of the more brilliant aspects of BOTW‘s shrines is how brilliantly they use Link’s basic Rune powers to do all manner of things. The Miro Shaz Shrine, located near Pico Pond in Hyrule, has one of these brilliant concepts – you’ll use Stasis to play a game of three-hole golf, freezing objects and whacking them into place to proceed. Unfortunately, Stasis’ unpredictable nature makes this trial especially finicky.
You’ll do a lot of guessing and checking, repeatedly overshooting or undershooting your weapon before adjusting. The constant wait times for the objects to respawn just makes Miro Shaz tedious and frustrating. And Hylia help you if your weapon breaks halfway through: different weapons set different velocities for objects in Stasis.
9
“Under A Red Moon” Makes You Wait Far Too Long
Mijah Rokee Shrine
The phrase “The Blood Moon rises again” strikes fear into the heart of every BOTW player – if not because of the rapidly respawning monsters, because of the long and dramatic cutscene that accompanies them. To make matters worse, there’s a shrine in BOTW that forces you to game the Blood Moon mechanic: Mijah Rokee Shrine, part of the “Under a Red Moon” shrine quest in the Ridgelands.
Introduced by Kass, this shrine has a pretty simple concept that rapidly becomes very annoying: you have to return to the site of the shrine during a Blood Moon, and stand outside without any clothes, weapons, or armor equipped. The hard part is remembering to head back to the shrine the next time a Blood Moon occurs organically, or the gathering and wasting of resources required to trigger one forcibly.
8
Rohta Chigah Shrine Includes Three Tough Movement Puzzles
Stop To Start
Few BOTW shrines can compare to the sheer annoyance of an obstacle course that is Rohta Chigah. Located on the Great Plateau, and only available as part of the Champion’s Ballad DLC, Rohta Chigah requires you to use a couple of Link’s Runes to overcome a series of deadly obstacles. The first is a group of spiked platforms that intermittently pop out of the ground, over which you’re expected to build a path.
The problem is that the metal boxes you’re provided with are extremely unstable, and are just as likely to buck you off like a raging bronco. Make it through here, rush through a hall of spinning gears, and you’ll be treated to an even more complicated puzzle where you have one use of Stasis to make it through a room of multiple falling spiked balls.
7
“The Korok Trials” Put You Through A Gauntlet Of Suffering
Unlock Two Shrines, Or Else
Most shrine quests in BOTW revolve around a single shrine, which you have to unlock by completing some unconventional puzzle outside the shrine itself. That’s not the case for the Korok Trials, which are actually three shrine quests bundled into one, each one just as frustrating as the next. The first has you running through the foggy forest, forced to place various objects inside barely-visible trees. Next, you have to follow the Korok Oaki through the forest without being seen – much easier said than done, given his unusual movement pattern.
Finally, you’ll have to cross a swamp full of electrified monsters, who’ll attempt to stun you and destroy your methods of traversal the whole way. Over the course of the quest, you’ll unlock two different Blessing shrines – at least those are easy.
6
“Shrouded Shrine” Is A Unique Shrine Quest That Gets Old Fast
Ketoh Wawai Shrine
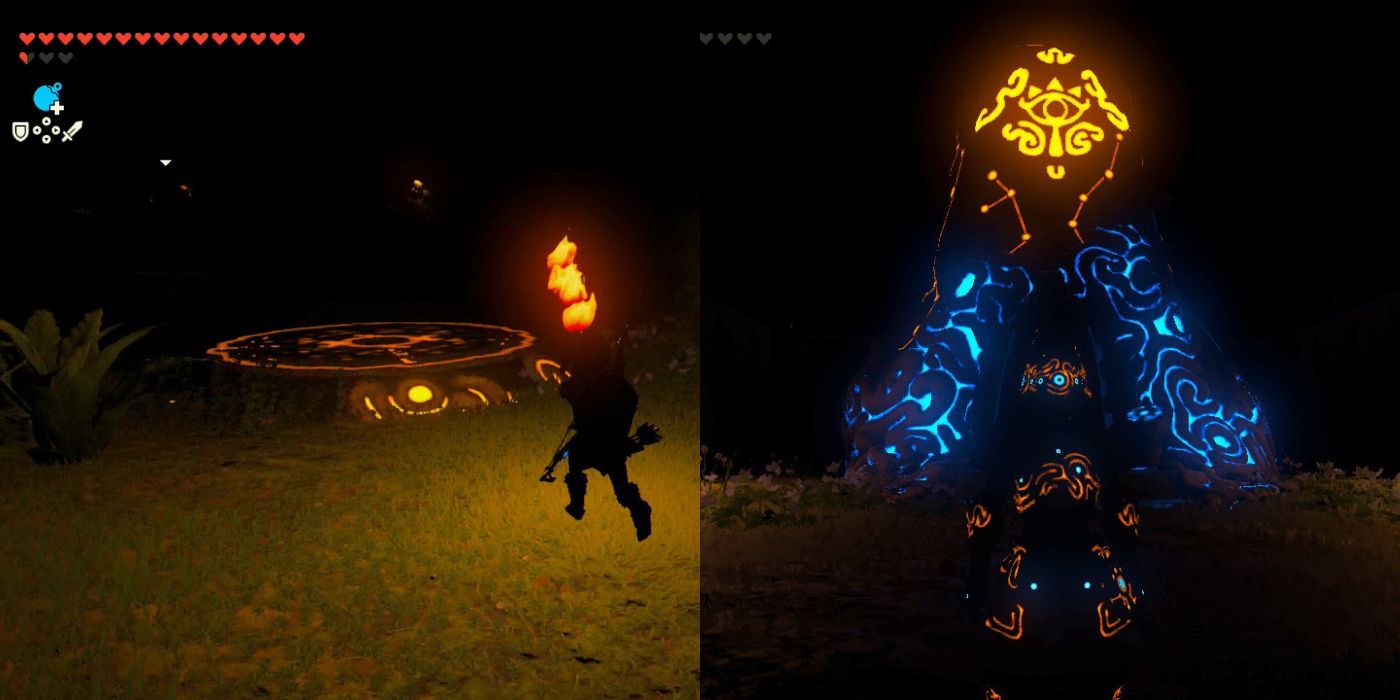
I appreciate BOTW‘s innovation in creating unique shrine quests that take you through one-of-a-kind challenges. However, some of them are a lot more fun to play through than others – and on the lower end of that spectrum, we have “Shrouded Shrine.” Located in Thyplo Ruins, this quest has you traveling through a pitch-black area, finding your way by the light of your torch and a handful of bird statues with directional beaks.
In this quest, you live or die by the light of your torch. If it goes out, or you forget to light one of the braziers you pass, you’ll be plunged into darkness, and likely get lost almost immediately. At the end of it, you have to fight a Hinox in the dark before unlocking Ketoh Wawai Shrine.
5
Takama Shiri Shrine Will Shock You
Dual Purpose
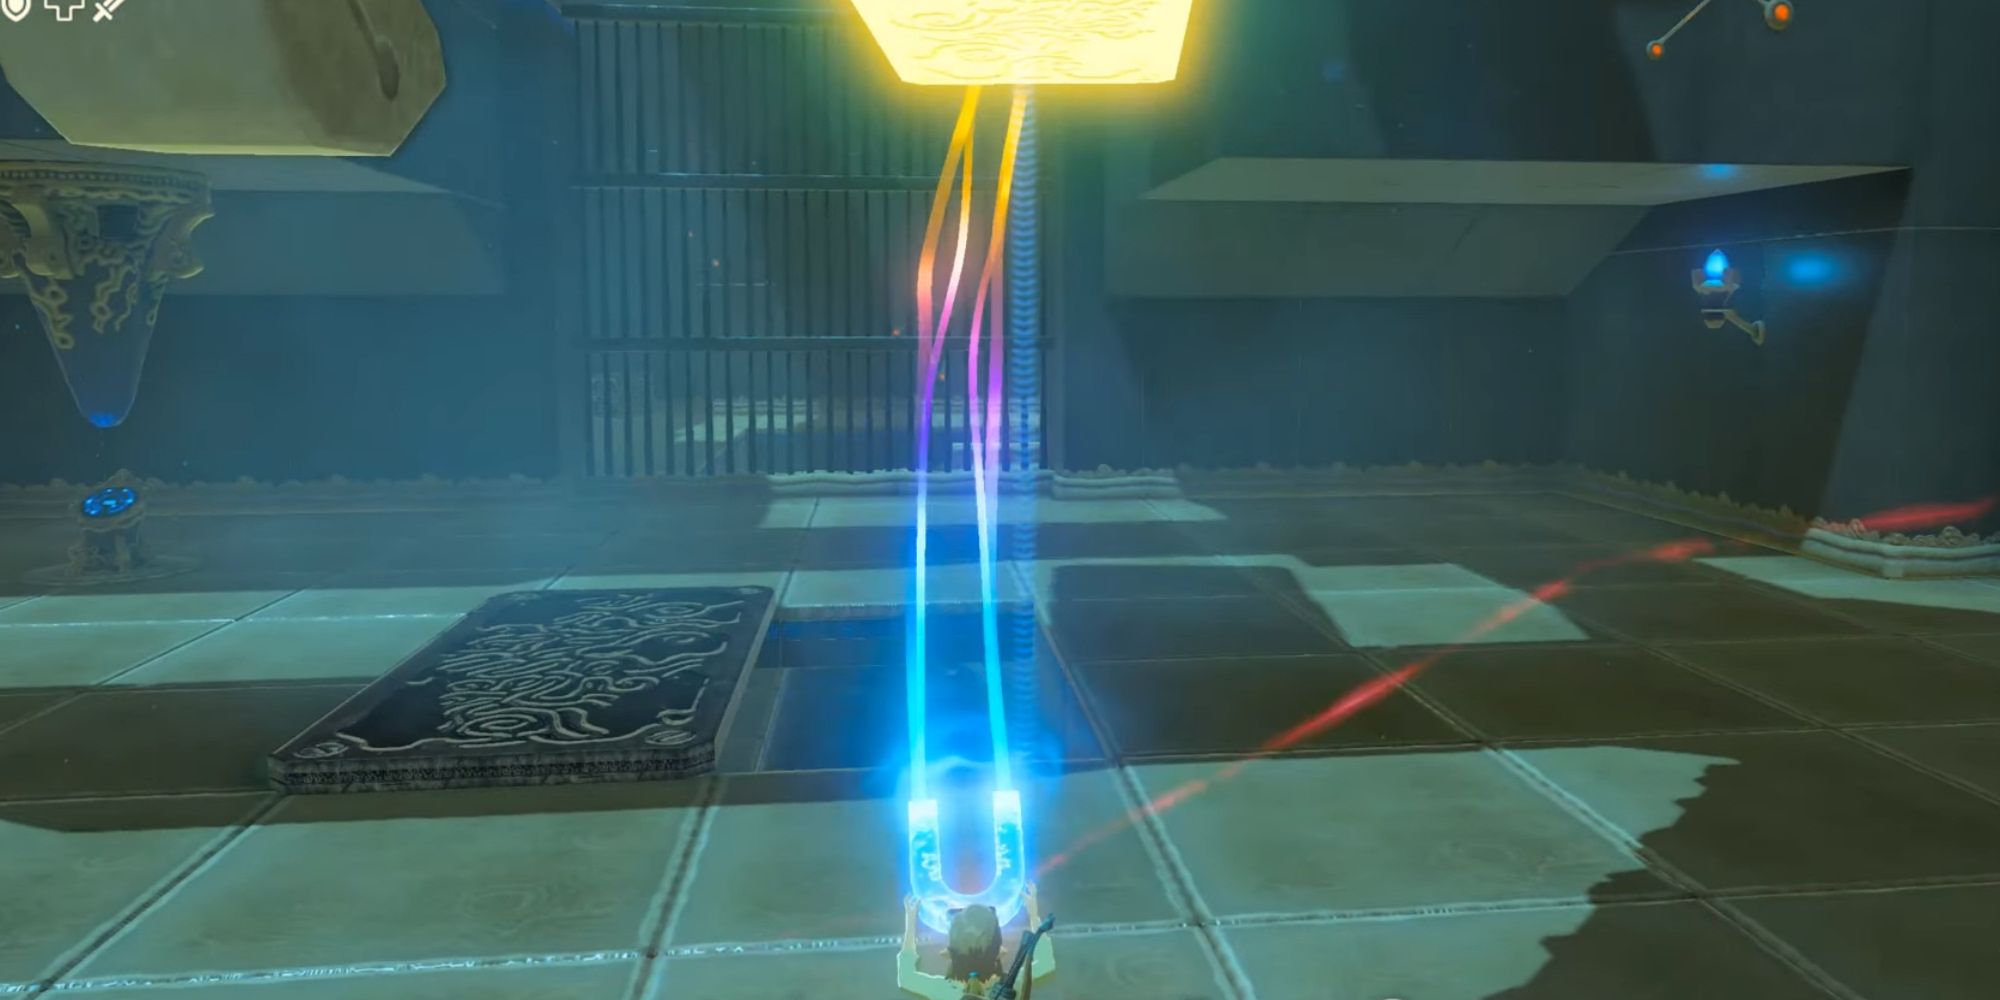
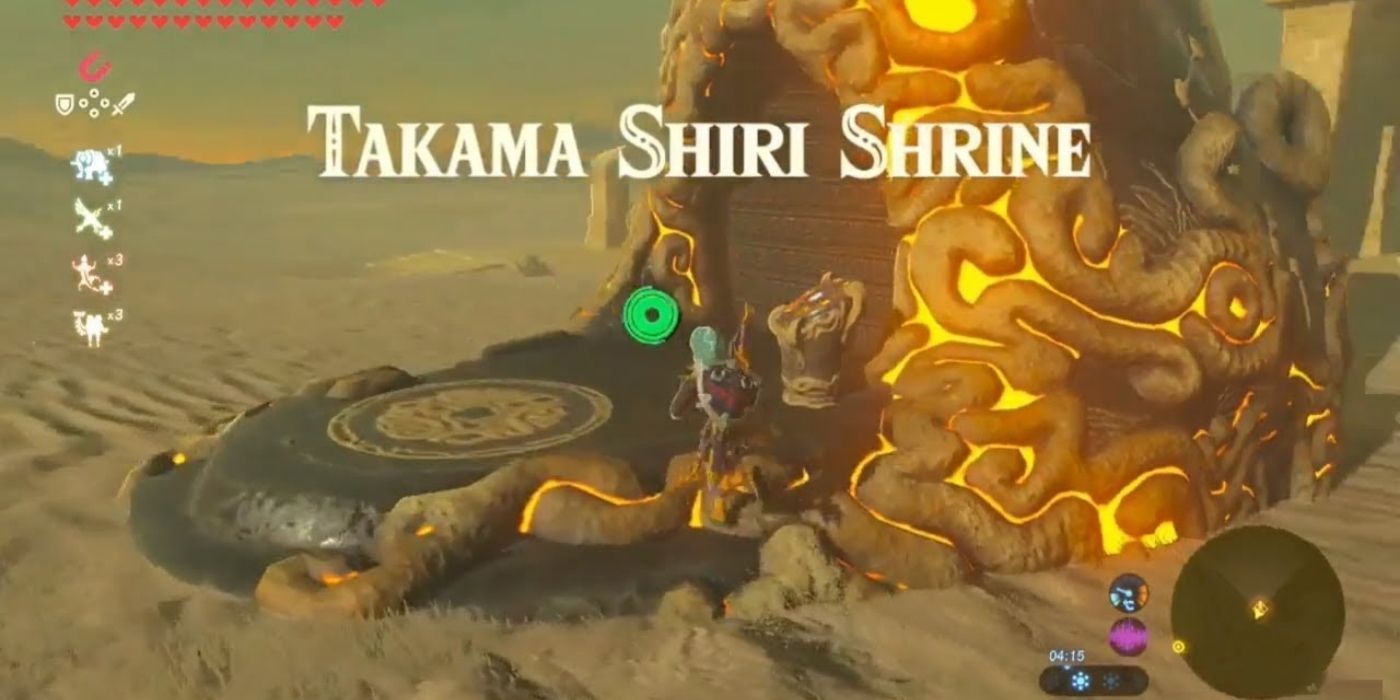
Electricity is one of the more interesting mechanics in BOTW‘s physics sandbox, but boy, is it annoying to deal with. That’s on full display at the Takama Shiri Shrine, located well out in the Gerudo Desert – even getting there is difficult, since you’ll need a Sand Seal. Inside, you’ll be faced with a series of electricity-themed puzzles: first, you’ll need to move some metal blocks around to avoid attracting a current, so you have a path forward.
Related
Almost A Decade After BOTW, I’m Just Now Realizing Which Mechanic Killed Link The Most
There is one feature in The Legend of Zelda: Breath of the Wild that is surprisingly deadly for Link even when compared to the rest of the game.
This is a really complicated puzzle: you’ll have to repeatedly shift a confusing configuration of blocks, some climbable, some not, to reach a variety of different goals. With the ever-present risk of electrocution involved, too, Takama Shiri can be really frustrating, if not outright deadly.
4
Tho Kayu Shrine Is Basically Just A Boss Battle
Tho Kayu’s Blessing
We don’t usually think of Blessing shrines as being difficult, because they’re usually not – but there’s at least one exception. In order to access Tho Kayu Shrine, located in the middle of the Gerudo Desert, you have to beat a Molduga, one of the toughest optional bosses in the game. Beating a Molduga requires excellent situational awareness, some good aim with bombs, and a lot of courage.
You’ll need to hide on solid ground, toss bombs at it when it surfaces to stun it, then rush in and attack, only to run away when it comes to. Inside the shrine, you’ll just find a Golden Bow and the altar – it’s as easy as it gets, almost as if to apologize for making you fight the Molduga outside.
3
Shora Hah Shrine Keeps The Flame Lit
Blue Flame
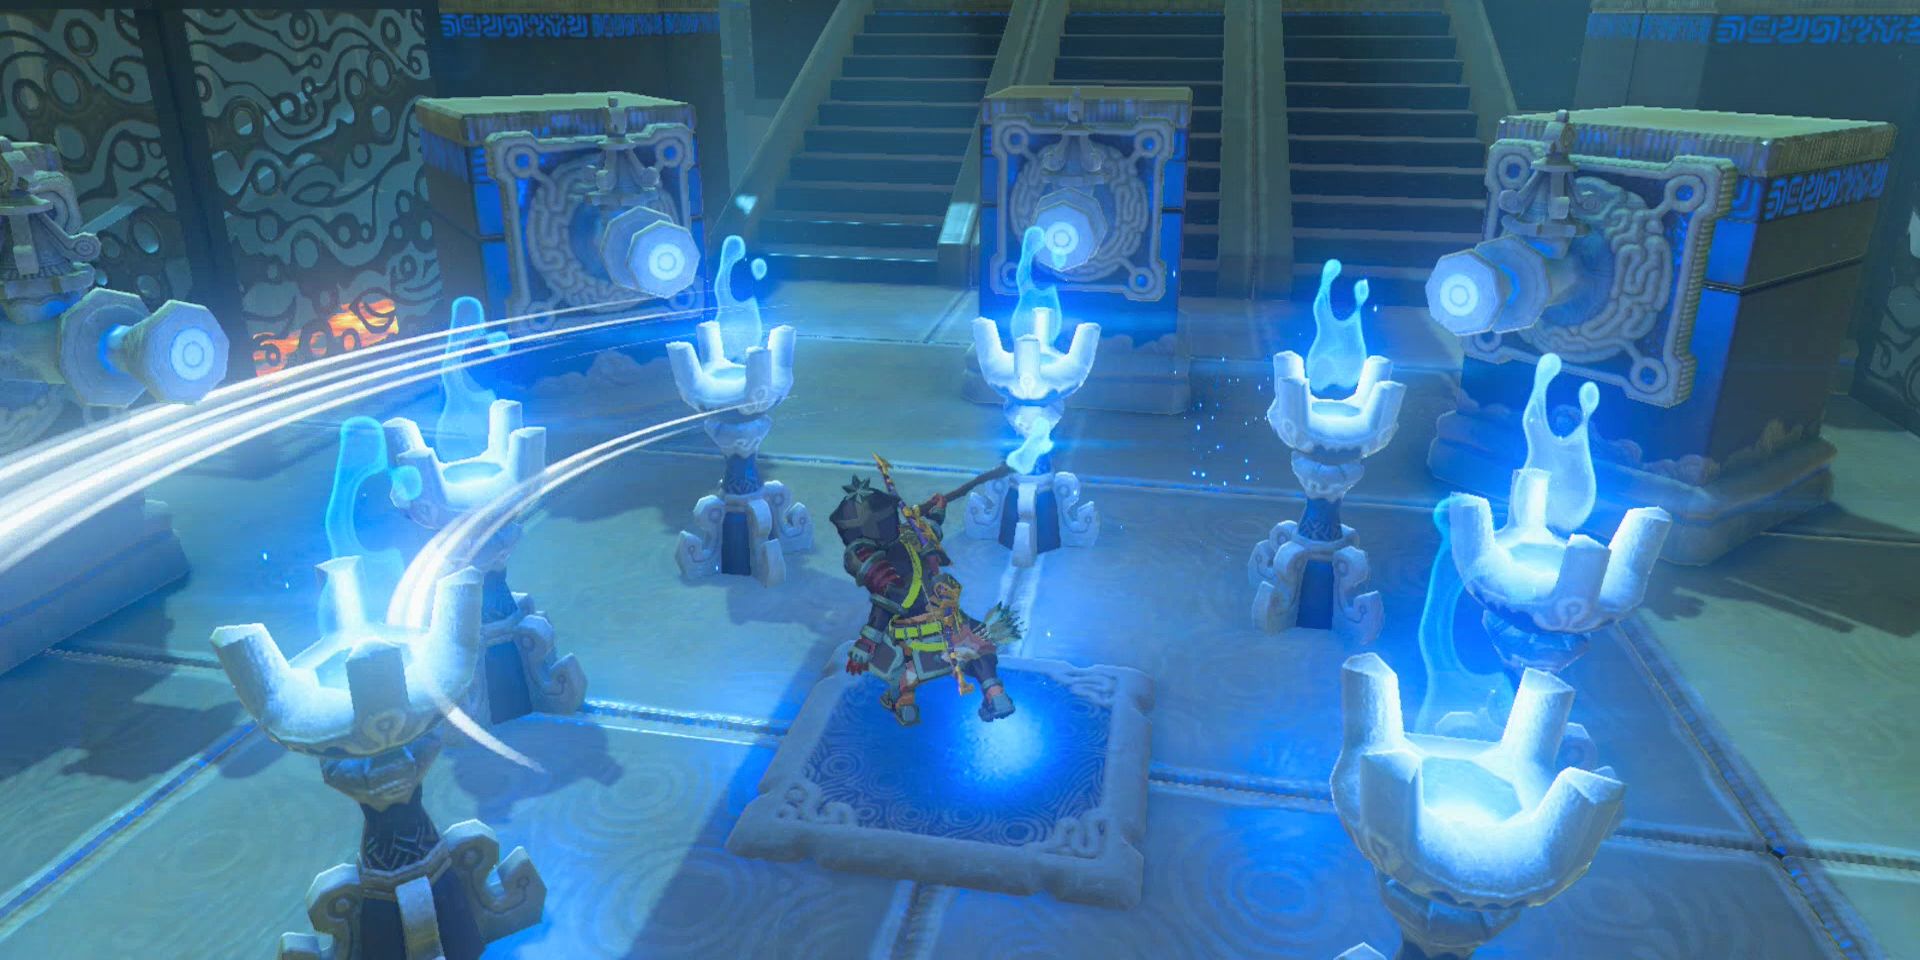
Torch-lighting puzzles in Zelda games are always the worst. The one in BOTW where you have to light all the torches in the village is bad enough (it always seems to start raining when I get halfway through), but Shora Hah Shrine might be worse. In a similar vein, your goal here is to light a series of torches to open new paths and ultimately complete the shrine – but you can only use a special blue flame, so no fire arrows for you.
Of course, there are lots of obstacles along the way whose sole purpose is to put out your flame. Rolling balls, slamming spikes, or mobs of enemies will stand in your way, and you’ll find your torch often gets snuffed, forcing you to backtrack repeatedly to relight it.
2
Eventide Might Be BOTW’s Longest Shrine Quest
Korgu Chideh Shrine
Do you ever wish Breath of the Wild was more of a survival game? Then have I got the shrine quest for you: “Stranded on Eventide.” This quest begins the moment you arrive on Eventide Island, when you’re stripped of every single weapon, armor piece, and item you’ve gathered throughout the game. Your goal is simply to survive with whatever you can pick up along the way.
Related
Zelda: BOTW’s Most Convenient Feature Is Way Crueler Than You’d Think
One fundamental feature of The Legend of Zelda: Breath of the Wild actually has an incredibly cruel side when considering the game’s story.
I’ll admit that Eventide is actually a pretty cool sidequest – it’s another example of how BOTW pushes its sandbox concept to the absolute limits. But boy, is it hard – armed with some of the worst weapons in the game and whatever random ingredients you can cobble together, you’ll face all manner of enemies, from regular old Moblins to a Hinox. This is a raw test of skill, and it can be a lot of fun.
1
Keo Ruug Shrine Is Needlessly Complicated
Fateful Stars
When it comes to the hardest shrine in BOTW, though, Keo Ruug takes the cake. It’s a fairly simple concept: your goal is to count the number of constellations on each wall, and use those numbers to place a series of balls in the correctly-numbered spaces on the ground. The issue here, though, is the lack of clear instructions. The player’s really left to their own devices in this shrine – should you count constellations or stars? Where should you start counting the spaces from? Which constellation matches which row?
In all my years of playing BOTW, this is the only shrine I actually gave up on – I walked out after 20 minutes of confusion, and came back with a walkthrough in hand later. I’ve still never managed to solve it on my own, which is why I maintain that it’s the hardest shrine in The Legend of Zelda: Breath of the Wild.
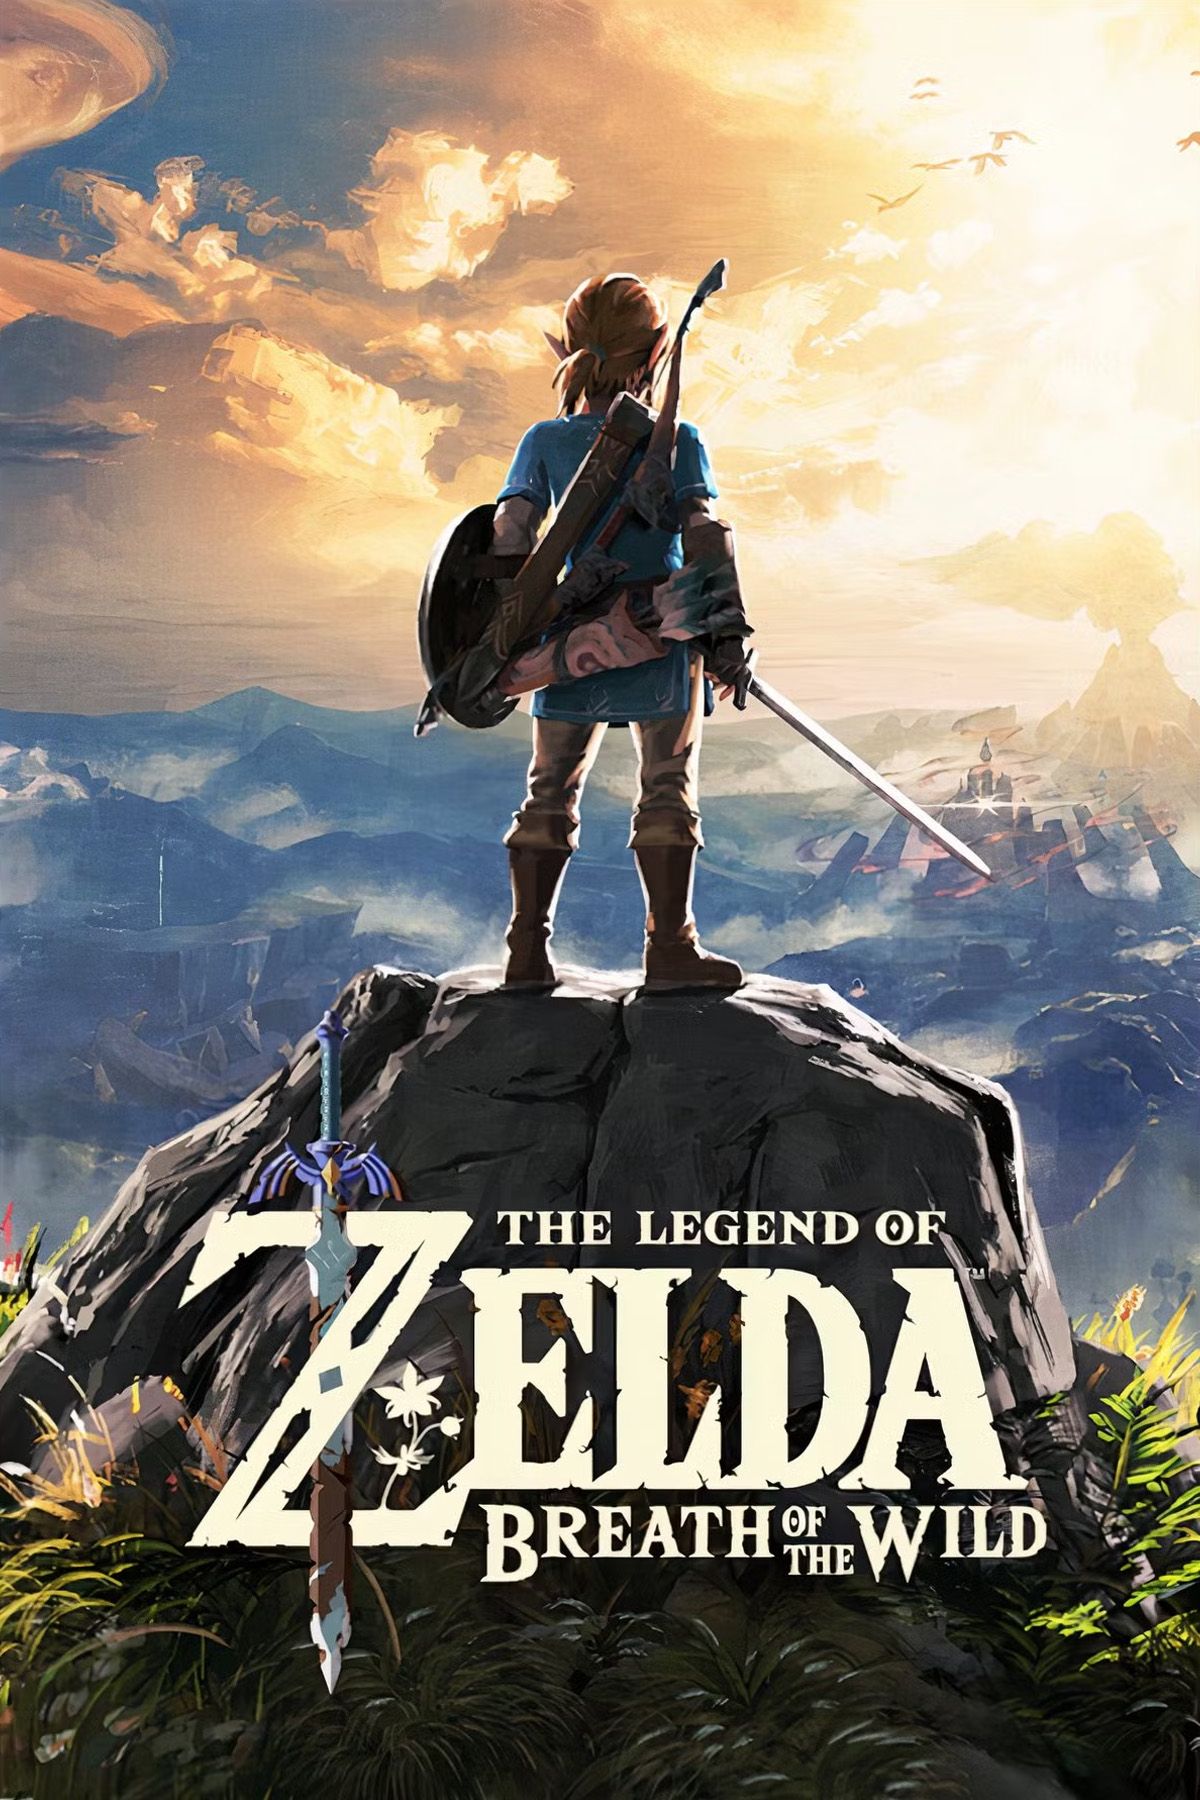
The Legend of Zelda: Breath of the Wild
- Released
-
March 3, 2017
- ESRB
-
E for Everyone: Fantasy Violence, Use of Alcohol, Mild Suggestive Themes
- Developer(s)
-
Nintendo EPD
- Publisher(s)
-
Nintendo
- Engine
-
Havok
- Cross-Platform Play
-
no
- Cross Save
-
no
