Background services are programs that run in the background of your computer even when you are not actively using them. These services can perform various tasks like checking for updates, running security scans, and syncing data with the cloud.
While some background services are essential for properly functioning your computer, others can be disabled to improve performance, battery life & gaming performance.
In this article, we’ll guide how you can easily disable unnecessary background programs that can result in better gaming performance. So, let’s take a look.
Why To Close Unnecessary Background Processes For PC Gaming?
Shutting down extra background stuff is crucial to make your Windows games run better. Apps and services use up system memory (RAM), and some also make your computer work harder (CPU). When these processes are used too much, your games might fail.
Games need a certain amount of RAM to work correctly, and insufficient can cause errors. For example, Minecraft might show an “Out of Memory” error. To prevent this, close unnecessary apps and services running in the background. This way, your computer has more room for games, and they will run smoother.
How To Disable Unnecessary Background Services on Windows 11/10
You can easily disable unnecessary background programs on Windows 11/10 using different methods. So, let’s dive in.
Method 1: Using Task Manager
The simplest and easiest method is using the task manager to disable background services. To do so, follow the below steps;
Step 1: Open Task Manager with the handy Ctrl + Shift + Esc key combination.
Step 2: Click Processes to view the background process on that tab.
Step 3: Select a process for any recognizable third-party app and click End task.
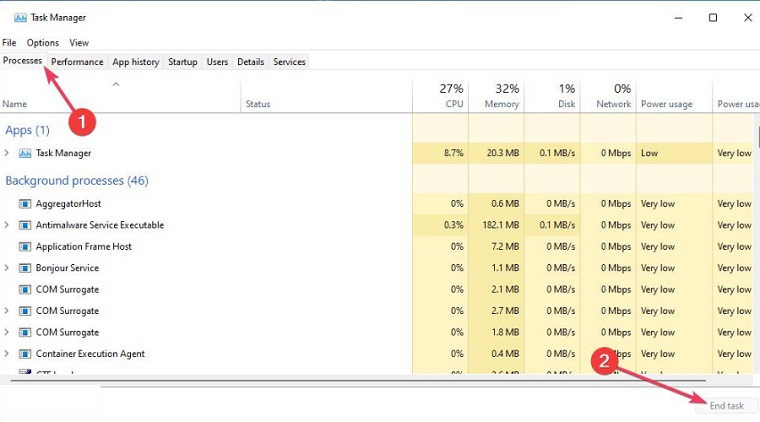
Step 4: Repeat the previous step to disable non-essential background processes. However, do not terminate anything listed under Windows processes.
This way will stop extra background apps until you restart your computer. After restarting, some apps might start again. So, to make sure they stay off, you should also permanently disable certain startup items, as explained in the next method.
Method 2: Using MSConfig
You can also disable third-party services with MSConfig. To do so, follow the below steps;
Step 1: Click within the search box or press the magnifying glass button on the Windows 11/10 taskbar.
Step 2: Type in a “msconfig” search phrase to find System Configuration and select to open that tool.
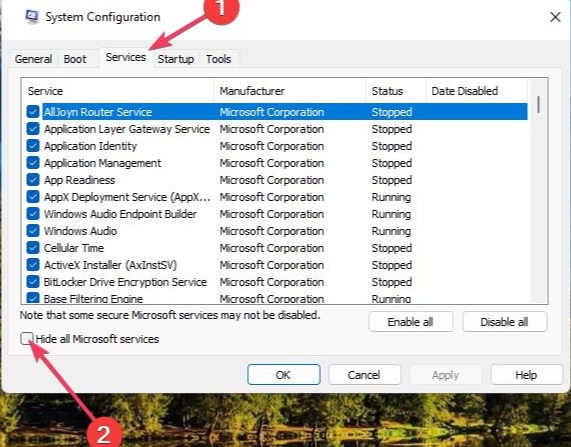
Step 3: Then click on Services within System Configuration’s tab bar.
Step 4: Select Hide all Microsoft services to leave out more essential things.
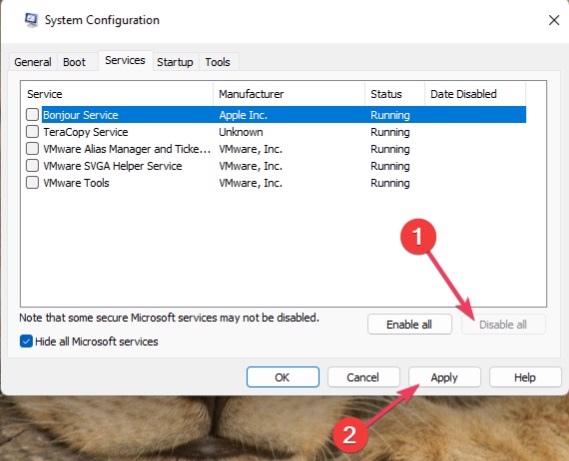
Step 5: Deselect the selected checkboxes for third-party services you want to remove from the startup. Alternatively, you can press Disable All to remove all of them.
Step 6: Select Apply to save the new service settings.
Step 7: Click OK to exit, and then you can optionally select Restart.
Method 3: Using the Settings App
You can also disable background apps with the settings app. To do so, follow the below steps;
Step 1: Activate the Windows tool for finding files and input background apps.
Step 2: Select the Background apps search result.
Step 3: Turn off the Let apps run in the background option to disable all UWP listed.
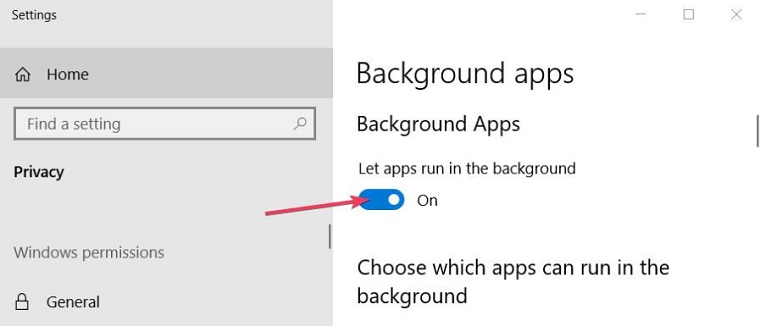
Step 4: Selectively disable some listed apps by clicking their toggle switches off. It’s recommended to keep the Windows Security app running in the background.

These guidelines focus on turning off background apps using the Settings app in Windows 10. While Windows 11’s Settings app doesn’t have the same options, you can manage background app permissions in Windows 11 by following these steps:
Step 1: Press your keyboard’s Windows logo + I buttons to view Settings.
Step 2: Click Apps & features within the Settings’ App tab.
Step 3: Next, click an app’s three-down menu shown directly below.
Step 4: Select Advanced options to reach a Let this app run in the background drop-down menu.
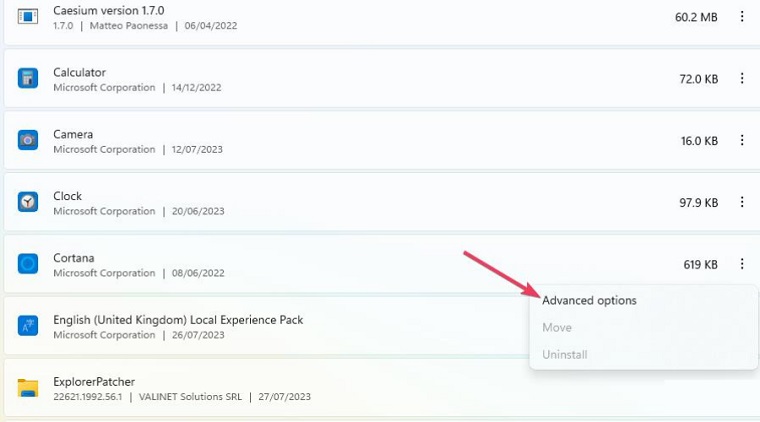
Step 5: Click the Let this app run in the background drop-down menu to select Never.

Method 4: Disable Startup Items
To do so, you have to follow the below steps;
Step 1: Open Task Manager and click its Startup tab.
Step 2: Select a third-party startup item on the tab.
Step 3: Click Disable to remove the selected item from the Windows startup.
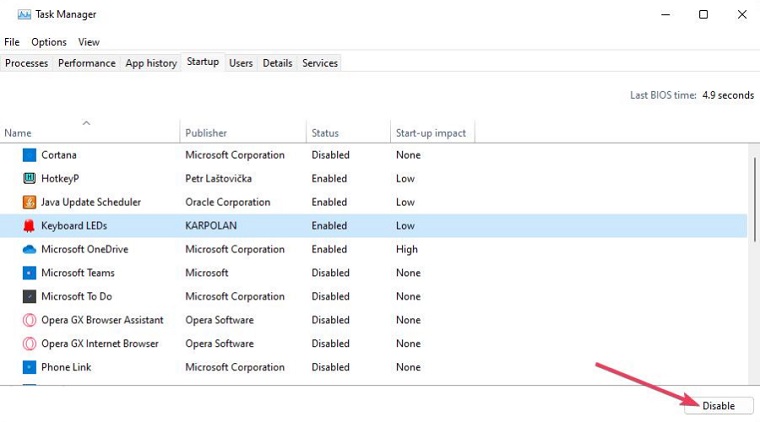
Step 4: Repeat steps two and three to disable at least most third-party startup items. To set a completely clean boot, disable all the unneeded startup items.
Other services from outside companies can also start when your computer boots up, using some of its resources, although not as much as apps. You can turn off these service processes that start with Windows using MSConfig, as explained in method three.
Method 5: Close Unnecessary Apps in the System Tray
You can also see some third-party background apps running within the system tray area of the Windows taskbar. So, look in your system tray to see if it shows any unneeded background apps there.
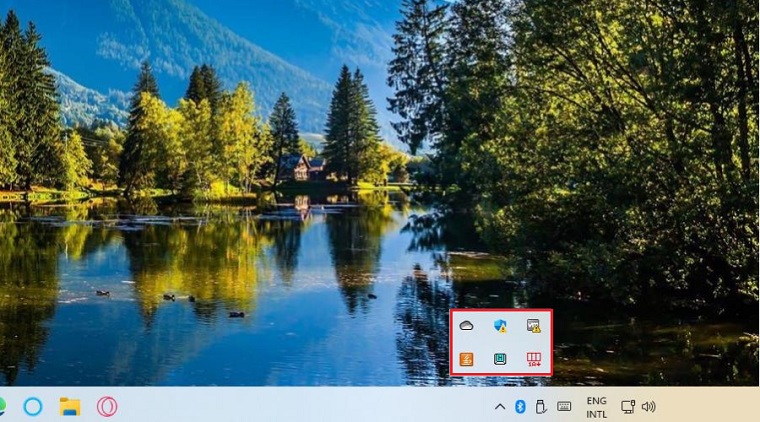
Those apps will usually have options on their context menus for closing them. You can close them by right-clicking their tray icons and selecting the Exit or Close options.
Turn on Game Mode
To turn on the game mode for a better gaming experience on Windows 11/10, follow the below steps;
Step 1: Activate the Windows 11/10 file search tool to input a Game Mode keyword.
Step 2: Select Game Mode settings in the search results.

Step 3: Toggle on the Game Mode setting to enable that feature.
Game Mode is a cool feature that stops extra stuff happening in the background to make games run better. However, it’s not super clear what things Game Mode actually stops.
According to Microsoft, turning on Game Mode makes games run smoother with better frame rates. It’s especially helpful for computers that aren’t super powerful.